In this post, I lay out the steps to follow to resolve the errors you see when creating your first MineRL agent on a macOS. This is a continuation of this post, which looks at resolving install errors on the minerl package.
I borrow heavily from this github issue comment.
Clone the repository using the terminal command below
git clone https://github.com/minerllabs/minerl.gitThis will create a
minerldirectory. Make sure that the path to the cloned repository does not have spaces in it (i.e. the path should not be/Users/<username>/minerl folder/minerl– you will getfile not founderrors in the next few steps otherwise)Open the patch file in the directory
minerl/scripts/mcp_patch.diff, and replace version number3.2.1to3.3.1forlwjgl-opengl(github link to part of the file where the version number should be replaced)From inside the
minerlfolder on terminal, run the following command:pip3 install .If the installation fails, please go to this post and see if the steps outlined there can help.
If the installation is successful, navigate to the
minerl/minerl/MCP-Rebornfolder and open thelaunchClient.shfile in a text editor of choice. Modify a line close to the end of the file that starts withJava ...., so that the new line becomes:java -Xmx$maxMem -XstartOnFirstThread -jar `\(fatjar --envPort=\)`portNavigate to
MCP-Reborn/src/main/java/net/minecraft/client/MainWindow.java, and make the following changes:Comment out the following line (add a
//to the left of this line)GLFW.glfwSetWindowIcon(this.handle, buffer);Comment out the body of the
checkGlfwErrormethod, it should look like this after commenting out the body (DO NOT comment out/delete the method declaration, else the next step will fail.):public static void checkGlfwError(BiConsumer<Integer, String> glfwErrorConsumer) { /* RenderSystem.assertThread(RenderSystem::isInInitPhase); try (MemoryStack memorystack = MemoryStack.stackPush()) { PointerBuffer pointerbuffer = memorystack.mallocPointer(1); int i = GLFW.glfwGetError(pointerbuffer); if (i != 0) { long j = pointerbuffer.get(); String s = j == 0L ? "" : MemoryUtil.memUTF8(j); glfwErrorConsumer.accept(i, s); } } */ }
Navigate to the
minerl/minerl/MCP-Rebornfolder in terminal and rebuildMCP-Rebornusing the command below:./gradlew clean build shadowJarYou should see a success message like the one below:

Find the location where the
minerlpackage was installed. If you usepyenvlike I do, you can use thepyenv which pythoncommand in terminal, to get the version of python being used by the system. For example, if the version number is3.11.2, then the location of theminerlpackage should be:/Users/<username>/.pyenv/versions/3.11.2/lib/python3.11/site-packages/minerlNavigate to the
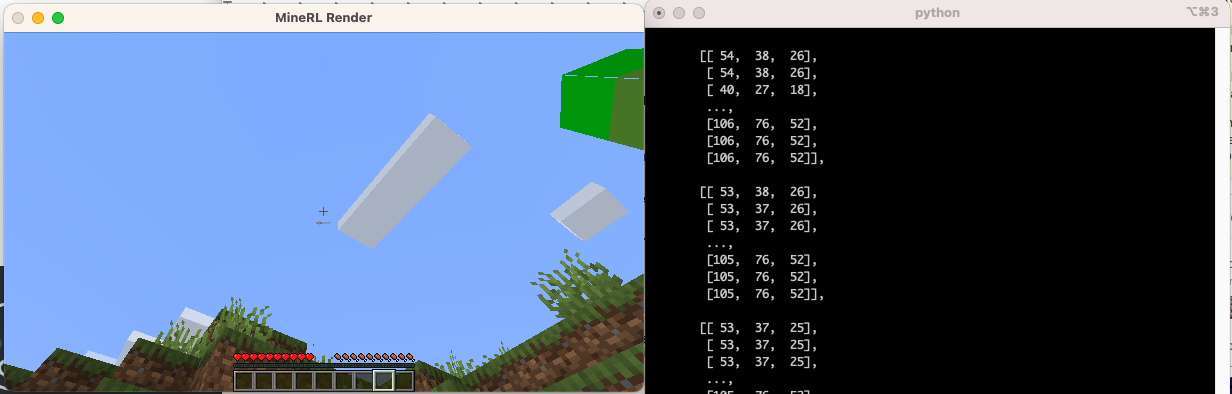
minerlfolder above, and replace theMCP-Rebornfolder in it with theMCP-Rebornfolder you just built in step 7 above.Follow the steps to build your first agent, this should work now and you should see something like this: